Tuesday, February 21, 2012

What I learned about myself watching the boys play Call of Duty

I've long known I see things many people over look. A side effect of which is that I wander off a lot.  Any poor girlfriend who has ever been shopping with me knows I could be right there and during the second it takes to take a breathe to speak I've vanished.  Hiking with me is even worse because I love plants. So every odd grouping of foliage stops me or worse I walk forward looking another way.  With this personality glitch I see so many more beautiful things that most people would miss.  For example since my husband's birthday last week I've tried to be generous with my tolerance of video games.  As a result I've seen hours of Call of Duty while passing in and out of the main area of our home.
Image found at: http://www.brashgames.co.uk
Since I couldn't care less about the actual game play I see simple but lovely architectural details, a common but cool graffiti style, a nice tree structure, a vintage bike I would love to have and even see insect antenna shapes in the plumb of the explosion.  This of course makes my guys tilt their heads sideways and look at me like I'm an alien. But you know what?  That's okay because I enjoy the game in a different way.  I never thought I'd enjoy these kinds of games.  Though I still have no desire to play I do think I've learned to tolerate them a bit more.  Another place I see beauty that many overlook is in abandoned structures.  After recently being introduced to a great group of boards on pintrest by hummingbird.pie I wanted to share a few amazing ones.
green+water+arches+triangles+light=awesome
Who could abandon this view?

Think of all the vintage paper!
texture, light & dark
fantastic!
titled explorer@work.  That's it I'm an explorer!

Thursday, February 9, 2012

The Bead Post


Here are the pretties!  My wonderful Bead Soup partner from Germany, Martina, sent me so many lovely things, but it will still be quite challenging because I've never worked with any of these shapes of pearls before.  Also the lamp work focal is so completely different from one side to the other 
I can't decide how to show it off.
Here's everything all tidy
Can you see the pollen in the dish above?  Yep, we've already got spring pollen here.
These are so shiny you can see me and the camera in almost everyone.
I love these so much!
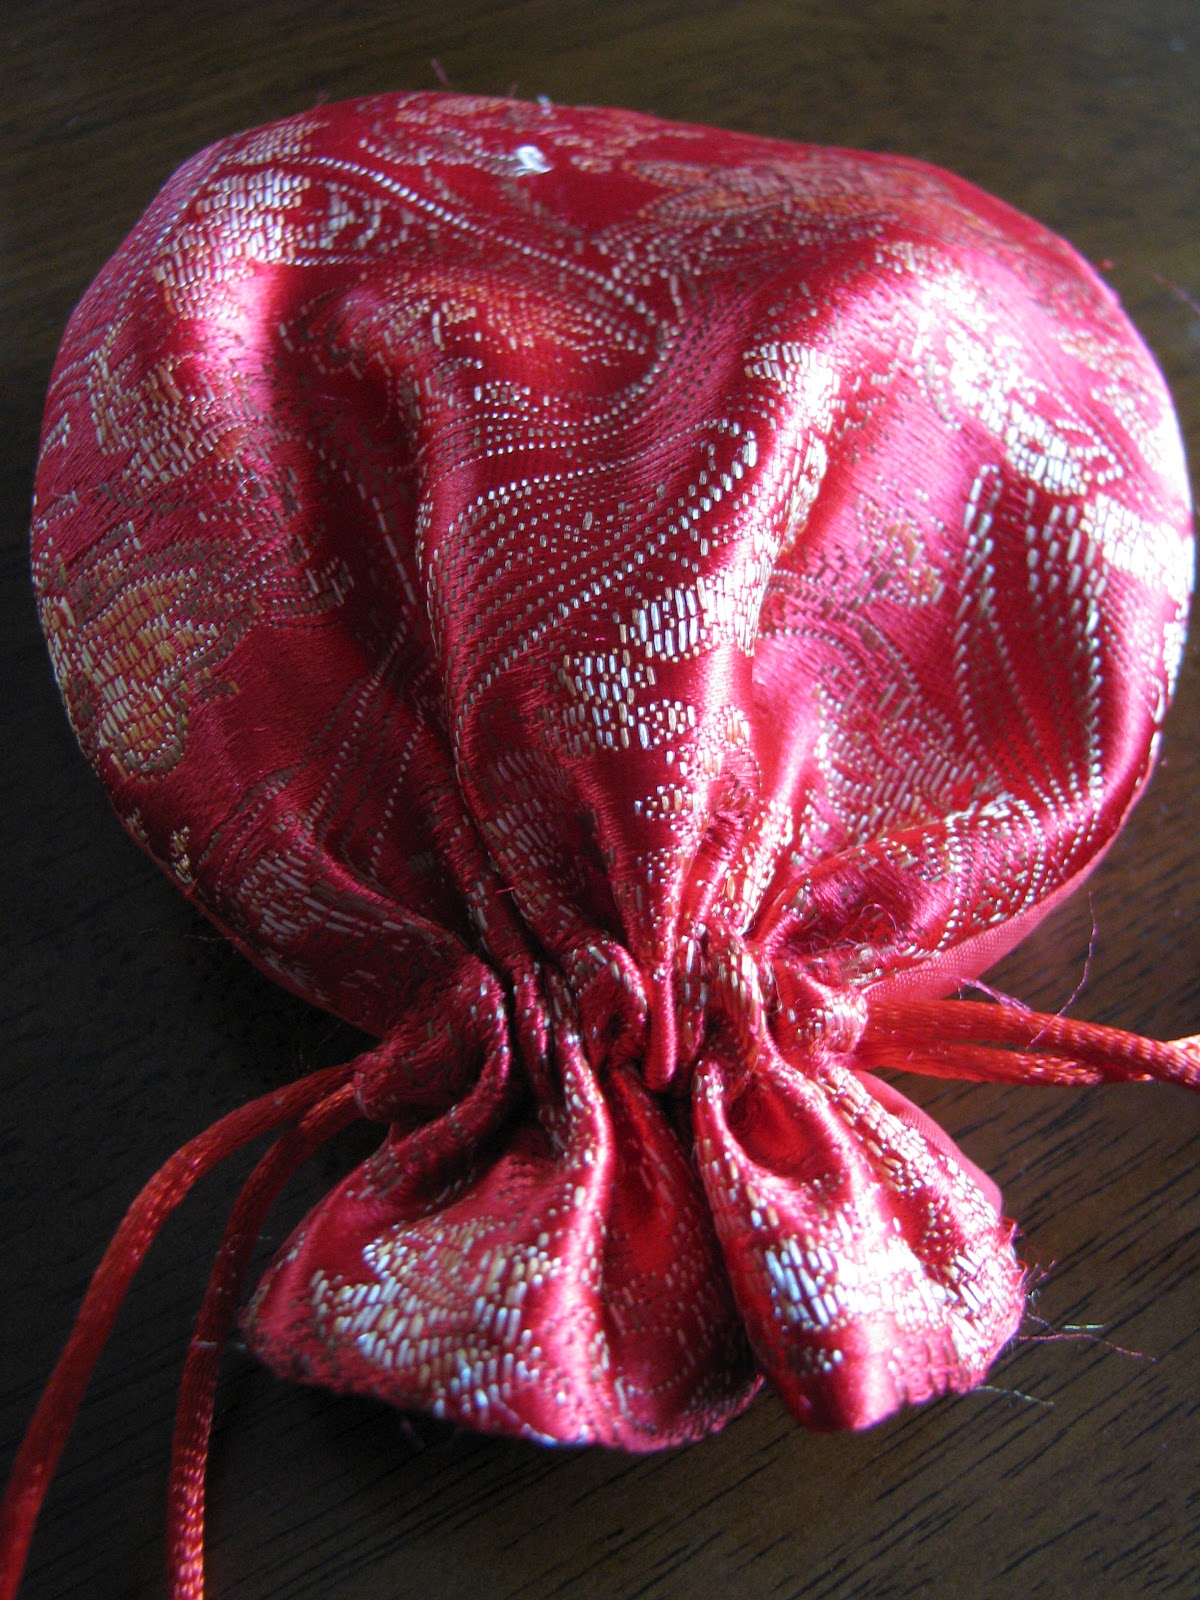
 It all came in the great bag her mom made.
Oh and my favorite part-my gift.  
It's magnificent!  I wear it every chance I get.
Back
Front

Ok I think you've seen enough.  She also sent me the cutest pencil set, but my son took one, one's in my purse, another the desk...you get the idea.  They are not available to be photographed.  


Wednesday, February 8, 2012

Still no beading update

This week I've made 51bags of cookies, 72 small treats, 3 trips to the market (it's only Wed), plus these
100th Day of School treats
and these
Valentine's for Cub Scouts
and even found time to attempt glass cutting with nail polish and fire as seen here.  Enlisted Hubby for help because clumsy & flammable are never a good combination.
check out the one already done by the soap
My Bead Soup beads came a week ago.  I've take dozens of pictures in almost every room of the house, but the dreary weather, multiple projects going on at once and the fact that after several attempts to stage the beads and wait for daylight have only lead to each and every member of my family dumping them over before bed getting good pictures to post is now almost on the top of my to-do list.  Unfortunately my promises to children and computer shopping (yep clumsy dropped her laptop) still take number 1 & 2 on the the list.  More later.  24 tiny right hands to cut out before bed.

Gator-tines

class Valentine's inspired by pinterest
I decided to get super crafty this month it seems.  All though lots of prep work has kept me away from my blog for a while, several of the projects are starting to wrap up.  For example gator-tines.  One of the more successful projects I've tried from pinterest.com. Make some of these cuties for yourself by printing the template from skiptomylou.org.  Enjoy this while I go snag the next batch of cookies from the oven.

I forgot to add a few tips that if mentioned on skiptomylou I certainly missed.
1.  White glue works much better than the clear paper glue.
2. Take a circle punch and cut a finger hole on one side (top or bottom) of each end of the pillow box.
Take a little bit less than this with the punch.  You learn as you go, ya know?
 Tuck that side in first.  It makes loading with candy or unloaded for the kids easier.
3.Glue the pink to the green lower part of the mouth before you glue the mouth to the pillow box.
4. Scoring is not optional. It's necessary to assemble the pillow boxes.  I've never actually used my bone folder for it's specific purpose before, and I'm a pro now.  Do you know how to use your bone folder?  If not youtube may be able to help.  It helped me.

Tuesday, January 31, 2012

Sakura time!


It's finally Sakura (cherry blossom) season!  I've been waiting weeks for the island's many bare trees to bloom.  The local festivals begun about 10 days ago and continue till mid-February.  So you'll probably be seeing more Sakura photos.  Until then I'm off to finish one of the many projects I have started.
All photo taken near the Yara castle ruins.

Saturday, January 28, 2012

Crayons!

This week I had a bit of catching up to do with my volunteer positions so by Friday I had earned some "me time."  After seeing several versions of crayon art on pinterest recently I thought I'd give it a try.  All you need is:
canvas
crayons
glue gun
hairdryer
drop cloth
painter's tape (optional)
I added painters tape to keep a section white to spell out the word I wanted which required an Xacto knife to shape the tape.  The next step is to hot glue the crayons in the order choosen.  Then prop the canvas up with the drop cloth extending around every edge at least 6 inches.  Finally turn the hairdryer to the hottest setting and have fun.
I chose to do mine so the drips would appear to flow up when hung.

Tips:  1. make sure to pull any tape off before the crayons have had a chance to fully dry
2. you can remove a little of the color from the letters with an Xacto knife if your tape didn't hold
3. add painter's tape to the edges or you'll have lots of crayon built up on the top & bottom

Monday, January 23, 2012

My first Beading Babes project

I've jumped in with both feet this year.  Not only have I registered for the Bead Soup Party, but I found Karyn's Beading Babes challenge, and thought I'd give it a shot.  Check out this challenge at Releases by Rufydoof.  So I sat down with the two patterns and start pulling beads. Of course, I was missing something no matter how I tried to combine my choices.

I have a time finding specific beads here.  So I've learned to be resourceful.  Yes I order online, but it takes weeks to months for anything to arrive.  (Remember I live on an island in the south Pacific.) When all my regular sources don't provide useful I give up on it.   That's what I did this time.  Seems not long after I let it go things often fall into place.  That's exactly what happened here.  A sidewalk vendor and a sewing shop were where the components for this project appeared to me.  Here's what I've done so far.

Forgive the poor photo.  It's been dreary for days here.